Host a Social Media Fundraiser

Thank You For Your Interest In Starting A Social Media Fundraiser.
Join Blessings in a Backpack as a fundraising partner and be a hero for hungry kids! Create your own social media fundraising page, gather donations, and rally support from your network – whether it’s family, friends, coworkers, or anyone else – to make a lasting impact. Together, let’s guarantee every child has enough to eat over the weekend.
Establishing a social media fundraiser is incredibly simple and budget-friendly, amplifying your campaign’s reach to a broader audience. By sharing your fundraiser with your followers, who can, in turn, spread the word within their networks, you initiate a ripple effect of support for Blessings mission. Utilizing Facebook/Instagram fundraising offers donors transparency, enabling them to view the campaign organizer and receive real-time updates, fostering trust and enhancing visibility.
Instructions:
- Fill in the blanks, including your fundraiser’s “Goal Amount” and “End Date.”
- Create your “Fundraiser Title.” If you’re raising money for a specific program, include that in the title. For example, “Buddy’s fundraiser for Blessings in a Backpack at ABC Elementary/City.”
- Tell your friends why you chose to support Blessings in a Backpack in the “Description” box. If you can, include a personal note. Find suggested wording in the blue box below.
- Click “Create.” Wait for the next screen to load. A pop-up will appear. Then click “Get Started.” You will be asked to invite your friends. Clicking “Invite” next to your friend’s name will let them know you created this fundraiser. We recommend inviting everyone! You never know when an old friend or family member will decide to donate to your cause.
- Facebook will then prompt you to share the fundraiser on your timeline. You can write a short note asking friends to support Blessings.
- Finally, you will be prompted to donate. While you don’t HAVE to, starting your fundraiser with a donation makes it more likely that others will contribute. It shows you care enough to donate yourself.
Instructions:
You can create a fundraiser on Instagram and share it with a feed post or reel. The fundraiser will be visible in your post, and you can find a link to the fundraiser in your bio.
- Open Instagram and tap +
- Create or choose your image and tap Next.
- Crop and filter your post, and then tap Next.
- Tap Add fundraiser.
- Choose the nonprofit you want to fundraise for. You’ll automatically go to the “Fundraiser Details” page.
- Enter the details for your fundraiser and then tap Done. If you’re raising money for a specific program, include that in the title. For example, “Buddy’s fundraiser for Blessings in a Backpack at ABC Elementary/City.”
- Tap Share.
Your Instagram fundraiser will be active for 30 days. You can extend the fundraiser duration or end it at any time.
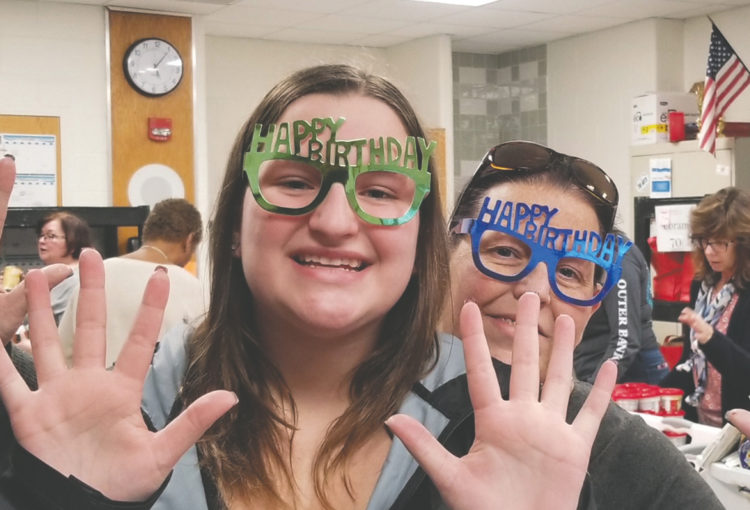
Share your birthday with kids facing food insecurity.
Start a birthday fundraiser and make a difference by asking for hunger-free weekends instead of personal gifts. Learn more by clicking the button below.


