Start an Online Fundraiser
Join Blessings in a Backpack as a fundraising partner and make a difference for hungry kids! Start your own online fundraiser on social media or through our peer-to-peer fundraising platform, gather donations, and rally support from your network – whether it’s family, friends, coworkers, or anyone else – to ensure every child has enough to eat over the weekend.
Creating a fundraiser is quick and easy – it only takes a few minutes to get started. By sharing your fundraiser with your followers, who can then spread the word within their networks, you ignite a wave of support for Blessings in a Backpack. Whether you raise $50 or $5,000, every dollar counts; your impact will positively impact our mission!
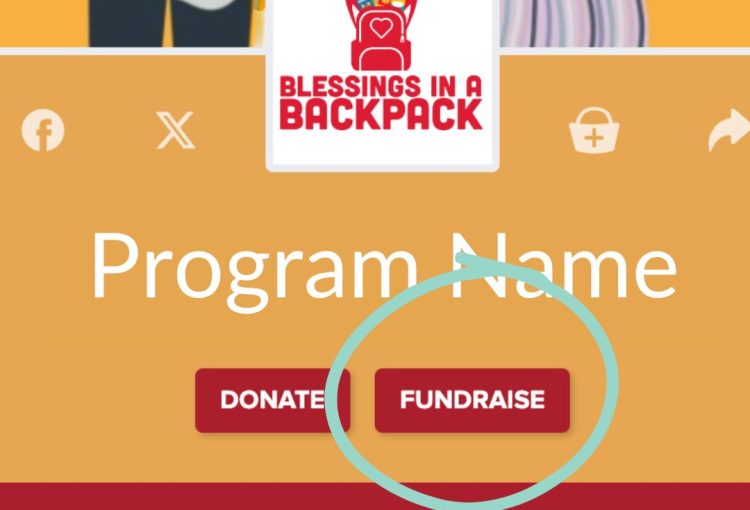
Creating an online fundraiser is easy and only takes a few minutes. Go to giving.blessingsinabackpack.org and search for the program you want to support.
Once you’re on the page you’d like to fundraise for, click the red “Fundraise” button. Enter the requested information, like name, email address, and password, and click “Submit.” You’re ready to roll!
Don’t have a program near you? You can fundraise to support the Area of Greatest Need. Click here to get started. In the “Select Program” dropdown, choose “National Mission Support.”

You will receive an email with a link to your fundraising page. But before you share it with others, follow these steps to make the most of your campaign.
Click here to log into your Fundraising Dashboard.
- Click on “Tell your story.” Did you know that people will be more likely to contribute when they’re motivated by why you care about our cause? On this page, you can also edit your fundraiser name and fundraising goal. Optional: add a photo to go along with your story. Click on the blue “Save Changes” button in the bottom, left-hand corner to save your story.
- Reach Out. Use this tool to send emails to family members and friends. We’ve provided a template to get you started, though the more you personalize it, the better. Click “Send.”
- Share socially. Copy the link provided to get started. According to a social fundraiser study, 40% of people share peer-to-peer fundraisers when they’re posted on Facebook. That’s just one of the many reasons you should share your fundraiser on your social media channels.
- Give Thanks. No matter what you’ve raised, it’s important to thank the supporters who donated to your campaign. Select the boxes next to the names you’d like to thank, click the “Thank Selected Donors” button, and use the suggested template to send ‘thank you’ emails.
If you need help setting up a peer-to-peer fundraiser, go to giving.blessingsinabackpack.org and click on the blue icon in the bottom left-hand corner of your screen. A chat box will open, and you can message or search for help.
To create a fundraiser on Facebook, go to facebook.com/fund/blessingsinabackpack.
-
- Fill in the blanks, including your fundraiser’s “Goal Amount” and “End Date.”
- Create your “Fundraiser Title.” If you’re raising money for a specific program, include that in the title. For example, “Buddy’s fundraiser for Blessings in a Backpack at ABC Elementary/City.”
- Tell your friends why you chose to support Blessings in a Backpack in the “Description” box. If you can, include a personal note.
- Click “Create.” Wait for the next screen to load. A pop-up will appear. Then click “Get Started.” You will be asked to invite your friends. Clicking “Invite” next to your friend’s name will let them know you created this fundraiser. We recommend inviting everyone! You never know when an old friend or family member will decide to donate to your cause.
- Facebook will then prompt you to share the fundraiser on your timeline. You can write a short note asking friends to support Blessings.
On Instagram, you can create a fundraiser and share it with a feed post or reel. The fundraiser will be visible in your post and you can find a link to the fundraiser in your bio.
- Open Instagram and tap
.
- Create or choose your image and tap Next.
- Crop and filter your post, and then tap Next.
- Tap Add fundraiser.
- Choose the nonprofit you want to fundraise for. You’ll automatically go to the “Fundraiser Details” page.
- Enter the details for your fundraiser and then tap Done. If you’re raising money for a specific program, include that in the title. For example, “Buddy’s Giving Tuesday fundraiser for Blessings in a Backpack at ABC Elementary/City.” Set the goal amount for $300 or more.
- Tap Share.
The fundraiser will be active for 30 days. You can extend the fundraiser duration or end it at any time. Click here to learn more about Instagram Fundraisers.
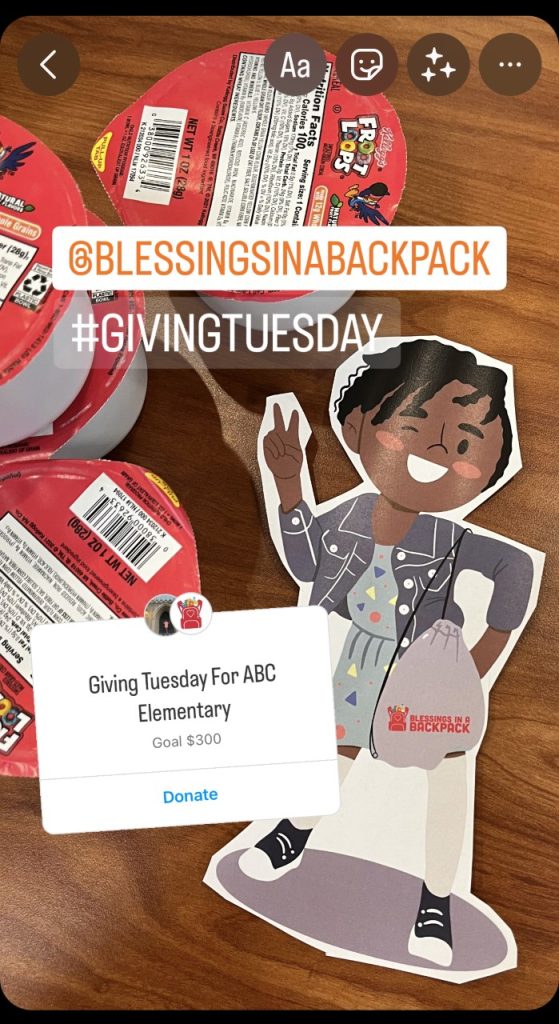
You can also include a donation badge in your Instagram Story to ask followers to donate in support of Blessings in a Backpack, and setting it up is easy! Watch the video below to learn more; an example of an Instagram story with the donation badge and our tags is to the right.


